How to Create an Event on Parde
The steps below are listed as the required steps for an event on Parde to be listed. Otherwise, please refer to the full event creation guide for a heavily detailed event creation breakdown
Getting Started
Log in to your Parde account on a browser.
Navigate to your account tab and switch to Parde seller.
If you're the owner of organizations, switch between them via the dropdown.
Click the ‘+ New Event’ button to start the creation of your new event.
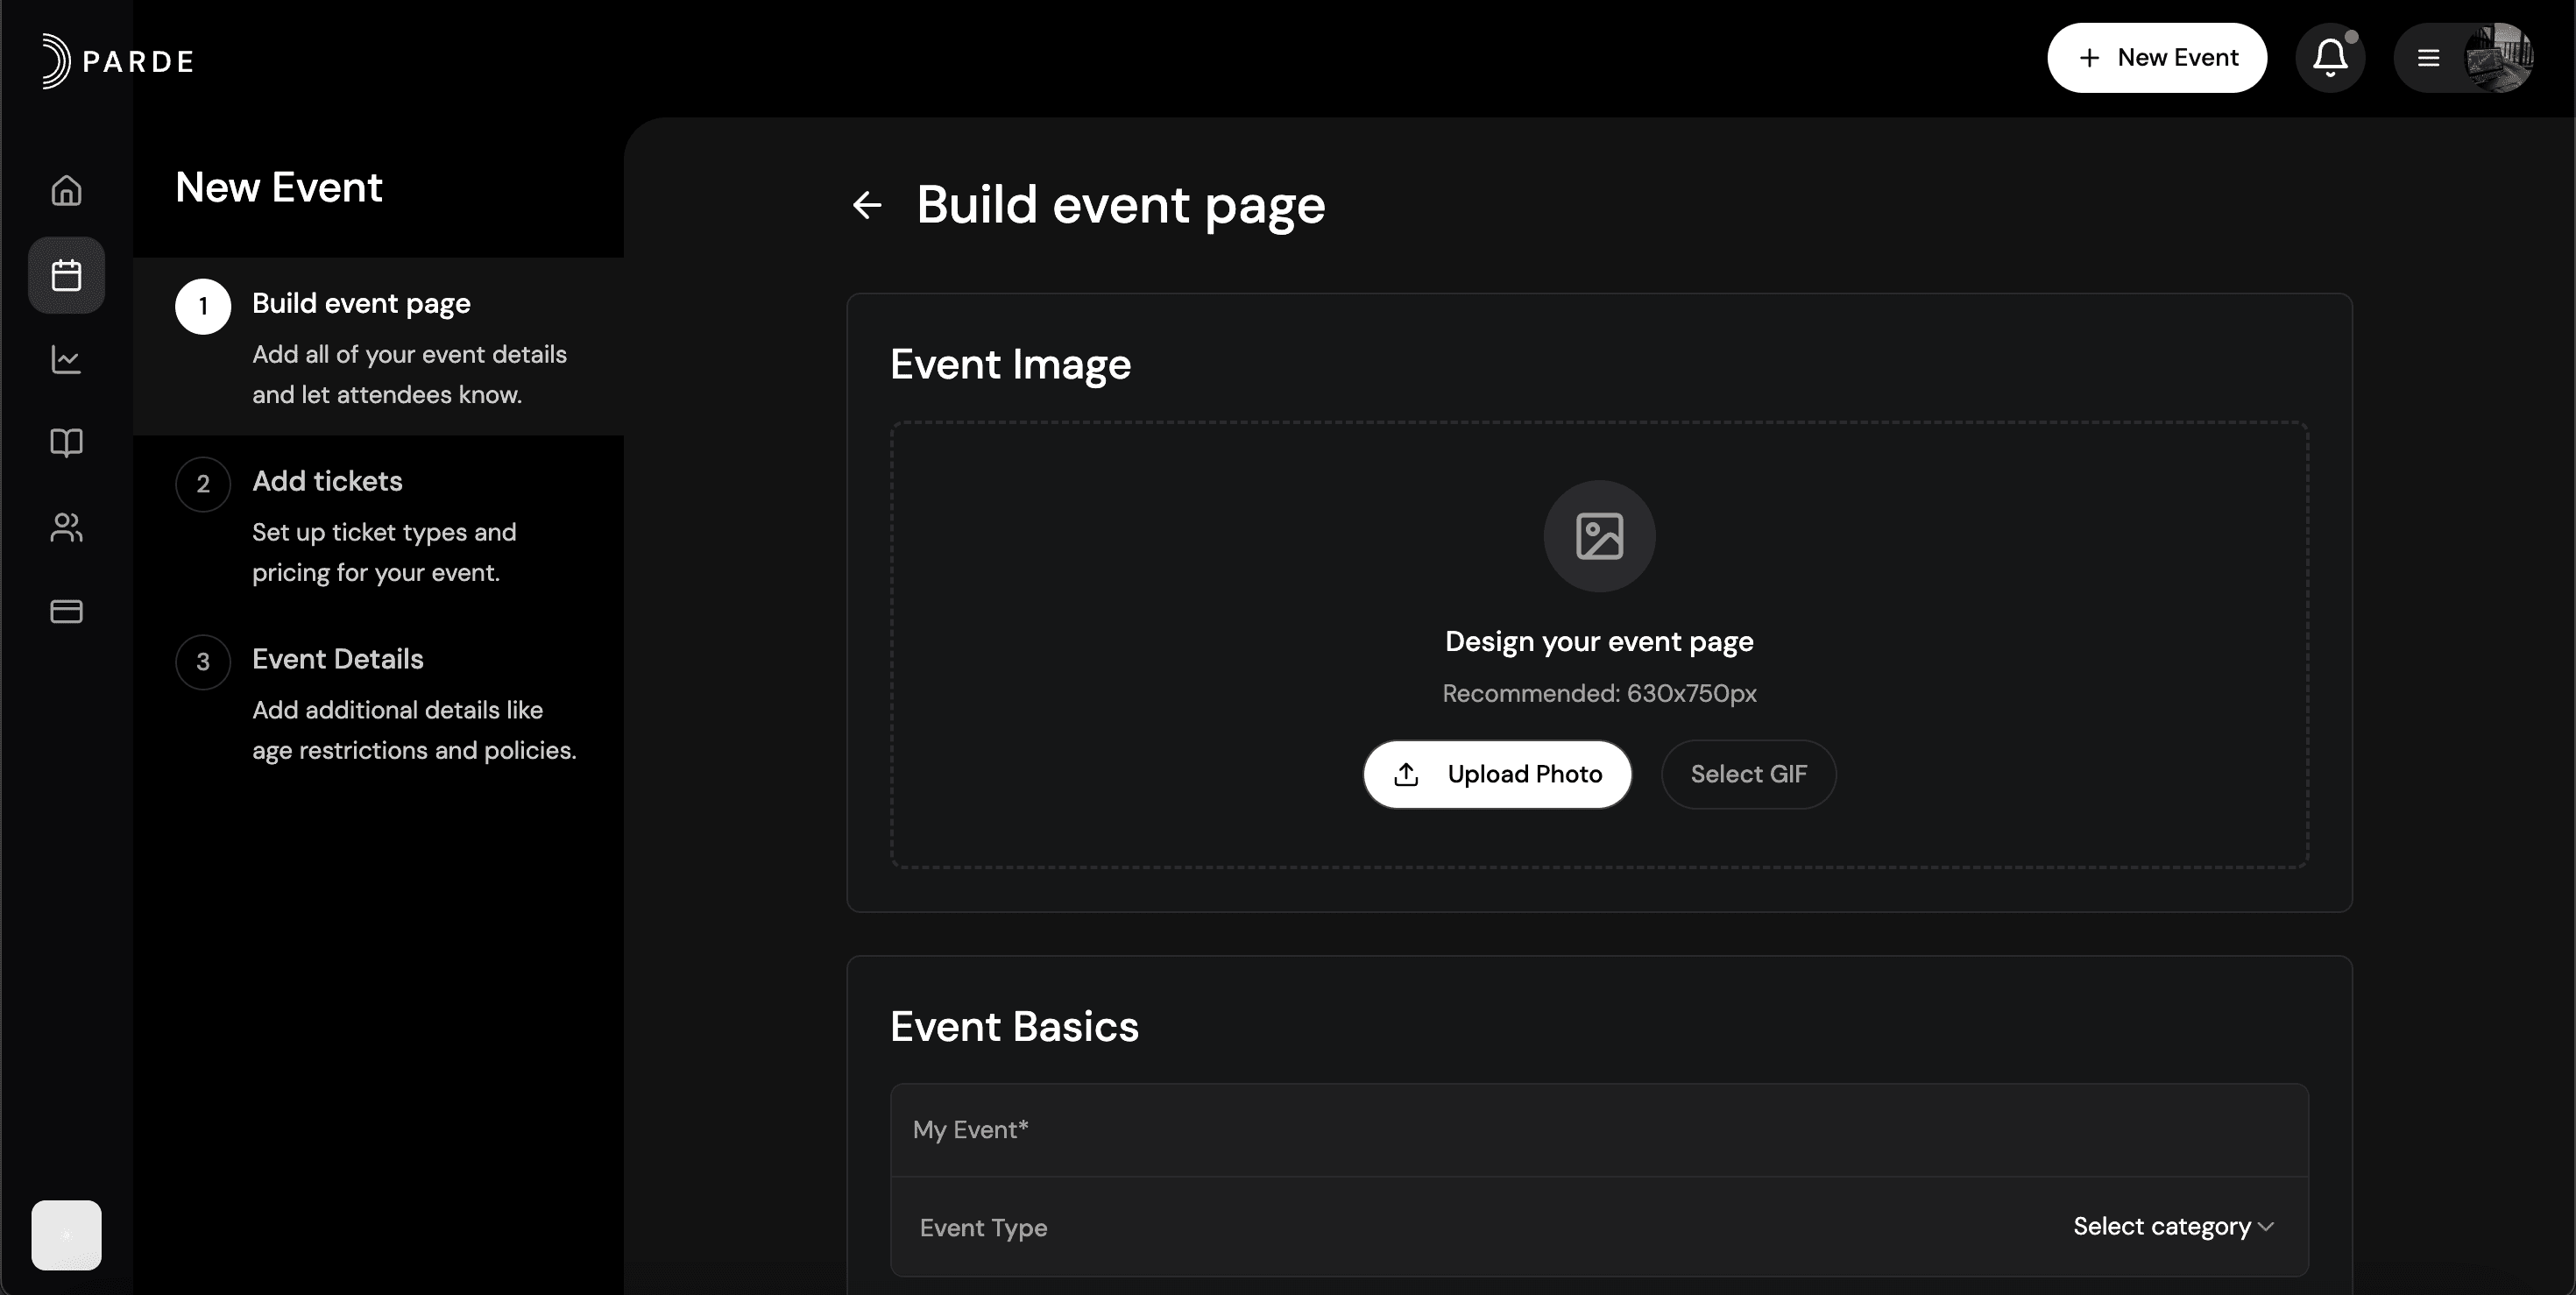
Event Details
Upload a poster*
Add a title and short summary
Add a location to your event
Click ‘Save & Next’
*Recommended Aspect ratio: 4:5, Minimum resolution: 1000 × 1250 px
Tickets
Click ‘Create New +’
Add ticket titles, prices, and quantities
Customize your ticket options:
Availability – Control when tickets become available and when sales close
Privacy – Limit access with a password or make tickets available only to specific groups (e.g., guest list only)
Visibility – Decide whether tickets are shown publicly or kept hidden
Turn on advanced options if needed
Additional Event Information
Looking to make your event page stand out? Use the features on this page to maximize customization.
Add event tags – Categorize your event to improve discovery and help guests quickly understand the vibe.
Highlight DJs & performers – Showcase your lineup so attendees know exactly who’s performing.
Set a refund policy – Choose between no refunds, full refunds, or a custom refund structure that fits your event.
Customize key details – Add age restrictions, music genres, event type, parking info, and duration for full transparency.
Fine-tune the overview – Give guests everything they need to know at a glance, without cluttering the main event page.